
Installing flooring can be a daunting task, but with the right techniques and a little bit of patience, you can achieve professional-looking results while saving money. This article will guide you through some essential DIY flooring installation techniques to help you successfully complete your project.
1. Planning and Preparation
Before starting any flooring installation, proper planning and preparation are crucial. Here are some key steps to follow:
- Measure the area accurately to determine the amount of flooring material needed.
- Choose the appropriate type of flooring for your space, considering factors such as durability, maintenance, and aesthetics.
- Prepare the subfloor by cleaning it thoroughly and ensuring it is level and free of any debris.
- Acclimate the flooring material to the room’s temperature and humidity for a few days before installation.
2. Tools and Materials
Gather all the necessary tools and materials before you begin the installation process:
- Measuring tape
- Utility knife
- Hammer
- Nail gun or floor nailer
- Tapping block and pull bar
- Underlayment
- Flooring adhesive
- Safety goggles and knee pads
3. Installation Techniques
Depending on the type of flooring you choose, the installation techniques may vary. Here are some general guidelines:
3.1. Laminate or Engineered Wood Flooring
- Start by laying down the underlayment, following the manufacturer’s instructions.
- Begin installing the first row of flooring, ensuring it is straight and parallel to the longest wall in the room.
- Use a tapping block and pull bar to connect the planks tightly, avoiding any gaps.
- Continue the installation row by row, staggering the end joints for a more stable and visually appealing result.
- Trim the last row to fit using a utility knife or a saw, ensuring a snug fit against the wall.
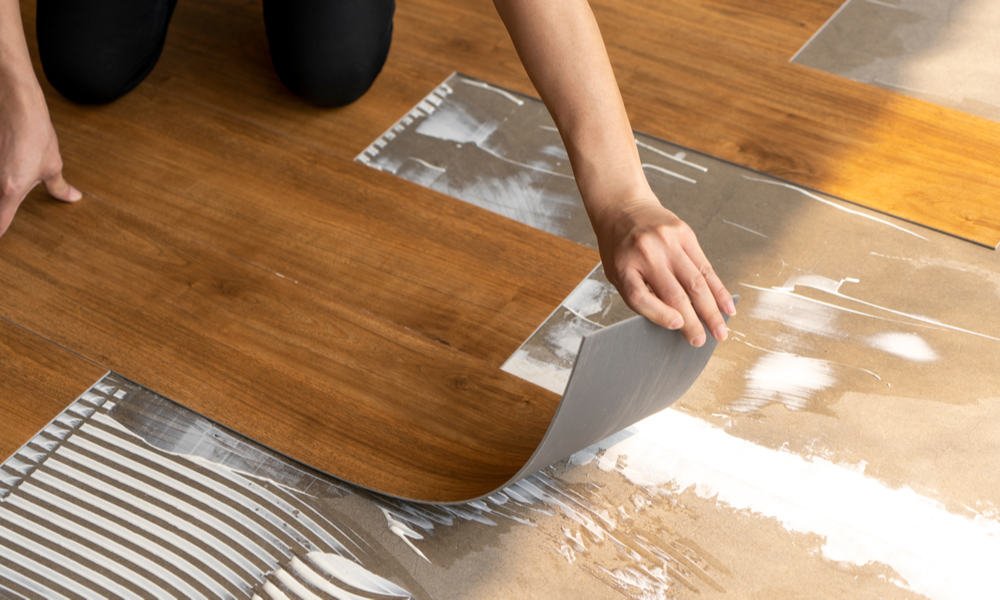
3.2. Vinyl or Linoleum Flooring

- Clean and prepare the subfloor, ensuring it is smooth and free of imperfections.
- Roll out the vinyl or linoleum flooring and let it acclimate to the room’s temperature for a few hours.
- Apply adhesive to the subfloor using a notched trowel, following the manufacturer’s recommendations.
- Carefully lay down the flooring, starting from one corner and working your way across the room.
- Use a roller to press the flooring firmly onto the adhesive, ensuring a secure bond.
4. Finishing Touches
Once the flooring is installed, there are a few final steps to complete the project:
- Install baseboards or trim to cover the expansion gap and provide a finished look.
- Clean the floor thoroughly, removing any residue or adhesive.
- Allow the flooring to settle for a few days before placing heavy furniture or walking on it extensively.
By following these DIY flooring installation techniques, you can achieve beautiful and durable results that will enhance the look of your space. Remember to always refer to the manufacturer’s instructions for specific guidance on your chosen flooring type.